How to Take a Screenshot on Mac. Sometimes it becomes challenging for us when using some new device and being not well familiar with the functions we bother about the way used to take screenshot. So it is necessary to learn the things that bother you.
If you have a Mac, you are in luck to be here as we are set to explore the ways to take screenshot with that device.
As there is no any “print screen” button on your Mac to capture its images. There are some multiple keyboard shortcuts that you need to memorize to capture a perfect screenshot.
Here’s a how-to capture screenshots.
Capture the entire screen:
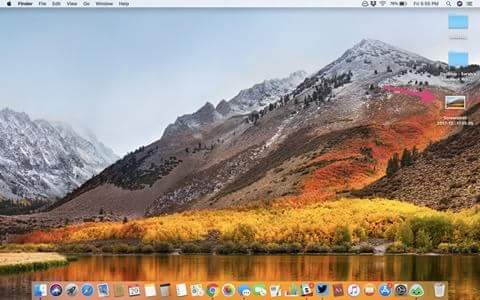
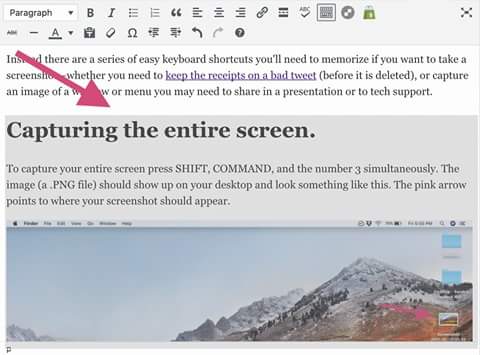
Want to take a screenshot of your entire screen? Press SHIFT, COMMAND (⌘), & the number 3 simultaneously. The image will save automatically on the desktop.

Must Read: Plastic fashion to be the big trend of 2018
Capture part of your screen:
Hoping to zero in on some specific section of screen? There is a shortcut for that. Press SHIFT, COMMAND (⌘) & the number 4. Crosshairs would appear instead of the usual mouse arrow; click and hold with your trackpad or mouse to drag the crosshairs across the screen, creating a rectangular “net”. The selected area would appear grey. Finally, release your held click & voila! Selection captured.
(Accidentally started drawing a net around the wrong part of the screen? Press the escape button while dragging and reset the process.)
Capture everything in a specific window
Let us say you are in a desire to capture an entire window, but neither want to share your entire screen nor going to play target practice with Apple’s provided crosshairs. There is an easier way for you. But it is a two-step process. Let us start by pressing SHIFT, COMMAND (⌘) and then the number 4, just as we would draw a custom capture area. Once the crosshairs is appeared, you have to press the space bar. The crosshairs would become a camera icon. Move the camera over the window of your choice and click it once only. The job you had to do is Done! The .PNG file of your desired window would be appearing on your desktop.
The same method can be followed to take a screenshot of menu of a specific application.
Capture an image of your Touch Bar:
Do you own a Mac computer with a Touch Bar? Well, there is a way to capture that, easily. Press SHIFT, COMMAND (⌘), and then the number 6 simultaneously. In this way, you can also get touch bar on your Mac customized to include a screenshot button.


