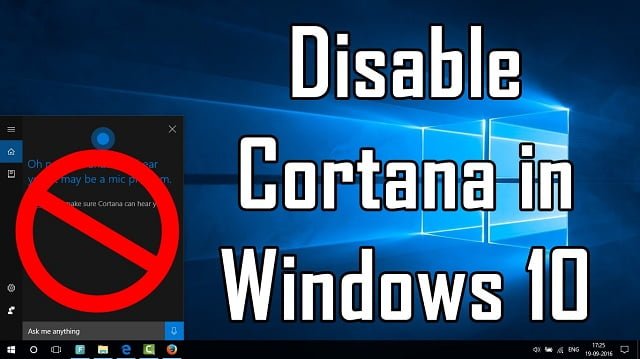
Well as many of the Windows 10 users would know that one of the most prominent features of the Windows 10 is the Cortana. Moreover you get to carry out multiple voice searches but with that you also get suggestions from the voice assistant. This includes reminders which are set on your calendar or ideas when you are searching the web for something on the Internet and more or less some important information. You can also turn off this feature whenever you want, but you should know that, as soon as you turn Cortana off! You shall lose some sort of functionality, such as the natural language or the ability to use some other smart Assistants such as Alexa.
Moving on, well disabling Cortana on the versions which were released before the notable Anniversary update was as easy as turning off a switch but in the latest versions it is a little more complicated as one would think.
Here are some instructions on how you can disable Cortana on the Windows Home
1: Open the Windows Registry editor by searching for it in the Windows search bar, or alternatively, press Windows key and “R,” type “regedit,” then click the “OK” button. Give administrative approval when requested.
2: Use the left-hand menu to navigate to “HKEY_LOCAL_MACHINESOFTWAREPoliciesMicrosoftWindows.”
3: If you can access a folder named Windows Search, then do so. If that folder doesn’t exist, create it by right-clicking the right-hand pane and creating a new key. Rename it to Windows Search.
Must Read: Upcoming Huawei Nova 4 display gives us a look at the notch-less future
4: Make sure that the Windows Search folder is selected, then right-click the right-hand pane again and create a new DWORD (32-bit) Value. Name it ‘AllowCortana’ and make sure its value is set to 0
5: Reboot your PC.
How you can disable Cortana on the Windows Pro or Enterprise
For the Windows Pro and Enterprise users, well they can still use the registry method for the disable processing, but they also have access to the group policy editors, which helps in making the overall process a bit faster. Following are the steps to disable the Cortana on Windows Pro or Enterprise!
1: Open the Group Policy Editor by searching for it in the Windows search bar or by pressing Windows key + “R,” typing “gpedit.msc,” and hitting the ‘OK’ button.
2: Using the left-hand menu system, select “Computer Configuration, followed by ‘Administrative Templates’ ‘Windows Components’ and finally, ‘Search’
3: Look for ‘Allow Cortana’ in the right-hand pane. Right-click it and select “Edit,” from the menu.
4: Use the three toggle buttons on the left-hand side to select “Disabled.” Then click the “Apply,” button, followed by the “OK” button.
“Next we move on to disabling Hey Cortana”
Well if you would like to partially disable Cortana but you still want to leave the voice assistant functional for searching and to help you with the internet browsing, well you can disable its ability to listen in to your call for action by disabling its “Hey Cortana” feature. Moreover this can also improve your battery life on you’re laptop. Well here are the steps to do that.
1: Search for “Cortana” in the Windows search box and select the corresponding result. Alternatively, open up the Windows Settings menu by pressing Windows key + “I” and click the “Cortana” icon.
Step 2: Under the heading “Hey Cortana,” set the toggle to the “Off” position.
Finally, Manage what Cortana can do
Finally if you want to put limits on the functionality of Cortana rather than to just to shut it out completely, here is what you can, these simple steps should guide!
1: Search for “Cortana” in the Windows search box and select the corresponding result. Alternatively, open up the Windows Settings menu by pressing Windows key + “I” and click the “Cortana” icon.
2: Select “Permissions and History” from the left-hand menu.
Once you select the permission and history you will find several options which you can then adjust your desire.


